how to replace a damaged enclosed trailer panel
We get it, you had a little accident. Now you’re probably thinking “What am I gonna’ do with this damaged trailer? How/where can I get this fixed?” Rest assured, we’ve got the answers that are going to help you get this job done right, ALL BY YOURSELF!
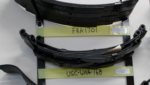
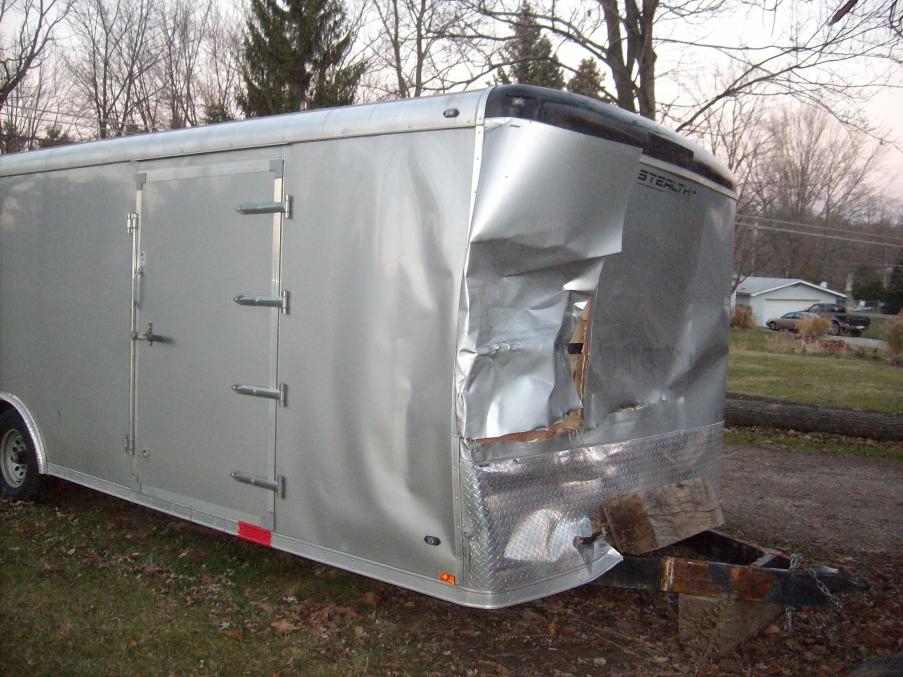
You can see in the picture above what a damaged enclosed trailer panel can look like. Something like this can also damage the frame/beams on the inside of the aluminum paneling. Some beams may be welded and fixed, while others may require an entire beam replacement. We suggest doing some research on your trailer and then find out if you are able to purchase replacement beams from the original manufacturer. If not, you may be able to weld your own to match (if you can weld/and or know a good welder.) This particular article is focused on replacing the panels, not the beams.
After you have replaced the damaged beam and re-attached the lighting (If necessary), you are ready to put on the replacement aluminum sheeting. If you have not already, take off the damaged siding. You will see that it is held on with screws all along the panel. You will also have to remove any bottom, top, side, or corner trim as well as fenders, that may also be holding the paneling in place. Your new piece of sheeting will probably be painted/primed on one side, while the inner side is not. On the off-chance that the paneling you purchase is NOT painted, you may also do so yourself. Just remember, the 1st coat may show waves. You may need to apply 2-3 coats to ensure a good finish. Please make sure you allow your paneling proper time to dry before trying to apply to the trailer. Your panel may not be an exact fit right off the bat. We suggest you take all the proper measurements of the paneling. Since it’s only aluminum, you may use tin-snips or a set of shears to custom cut the paneling to fit. While applying the new paneling, you will screw in and work from one end to the other. Try flattening the paneling with your hand while you are screwing it in to ensure a nice and neat flat fit. Once you have finished applying the paneling, you may re-apply any fenders, trim/corner pieces, and lighting that had been removed.
THAT’S IT! YOU’RE DONE! That wasn’t so hard was it? We’re sure there will still be tons of questions that come along with replacing a panel. We are working on new “How-To” videos as well as other helpful tips that will be coming soon. In the mean-time, if you still have more questions we suggest looking up some YouTube videos. Here’s a helpful link:
Replacing Enclosed Trailer Panels on Youtube
We also carry replacement aluminum in stock!
Click Here for Centreville’s Replacement Aluminum Panels
As always, you are still able to give one of our parts experts a call at (410) 414-3625 or send an email to cmipf@centrevilletrailer.com to field any other questions you may have!